

….
With all the quarantine restrictions due to Covid 19 we have been facing for the last few months on a daily basis lots of people have gotten super creative in terms of renovating their homes or exploring their inner Martha Stewart and have been cooking and baking ever since. I for myself had a baby which was also time consuming so my first DIY project took me awhile.
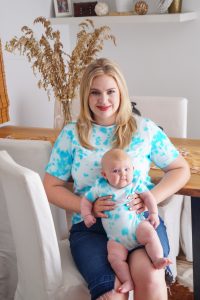
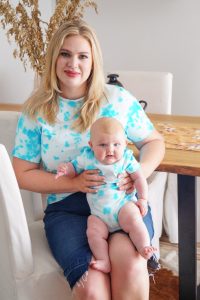
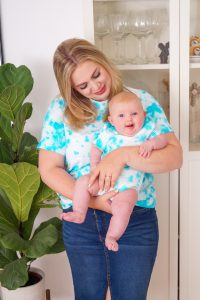
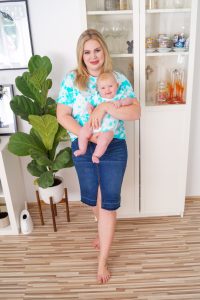
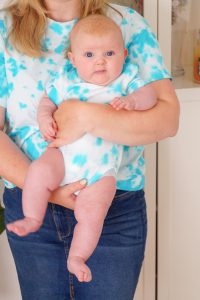
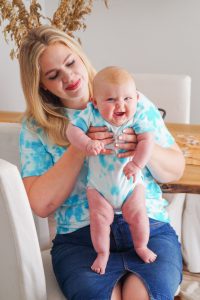
But today I am finally sharing my DIY tie-dye shirt on my little corner on the internet. After looking at so many shirts I could never find a piece I loved and if I did it mostly was sold out or super expensive so after watching a ton of YouTube video I decided to make my own – Mommy and Me version.
How to Tie-Dye your own shirts?
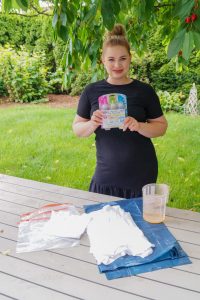
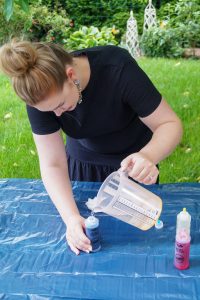
So I ordered a tie-dye kit off of amazon and thought by myself how hard could it be, I mean thousands of people already done it. I was quite confident to start on the pieces (I got a pair of longsleeves and t-shirts from H&M as they also carry baby clothing) but felt a little overwhelmed after mixing the paint but I went on how I wanted to die our clothes and to be honest I think they turned out great for a first time.
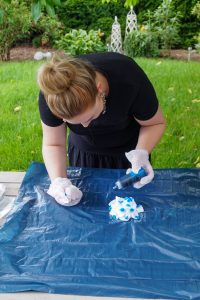
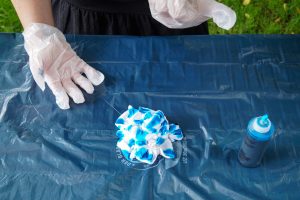
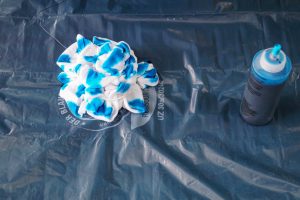
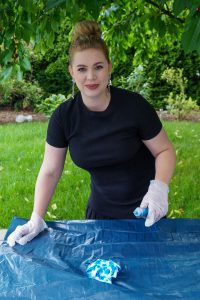
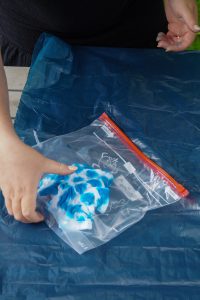
The method I used for our shirts is called the crinkle method and probably the easiest of all. You just crinkle your shirts together and fixate them with a rubber band (much easier with the baby bodies as they didn´t take up to much space but my shirts, even crinkled, where quite large so I managed to color, flip and put them into a ziplock bag without). Also I soaked the shirts with a vinegar water solution for about an hour upfront cause it said that the color is supposed to hold and look better after.
After letting the color set for about 4-6 hours you can rinse each shirt with cold water and wash afterwards. The color with get a little lighter but still looks beautiful. Let it air dry and you are good to go.
Some tips:
– blue is the most pigmented color so I would recommend to wear gloves even to rinse it off as otherwise your hands will stay blue for some time
– plastic foil also works to keep it damp but a ziplock bag is the best
It was so much fun and I probably make another bunch with more difficult patterns cause I have so much color left. Some baby socks or/and a neckerchief for our dog would be great.
As of now I am pretty impressed with how easy it has been and I for myself think I got great results.