Our Little Coffee Corner at Home…

….

(post contains affiliate links/Werbung/;Markennennung/Beitrag enthält Affiliate Links-not sponsored)

I just love my morning coffee. It is one of the little things I cherish everday over and over. The first sip of coffee is like a huge burst of energy running through my veins I just can´t describe this feeling. Also in my opinion the first coffee of the day tastes best. No matter where you get it in which way you decide to drink it. I always have a black coffee with a splash of fat free milk but if we are out for breakfast I´ll get a cappuccino and if we are at Starbucks I´ll usually have a vanilla latte. 3 super boring coffee orders but that´s just me. I like it simple and sometimes with a little twist.

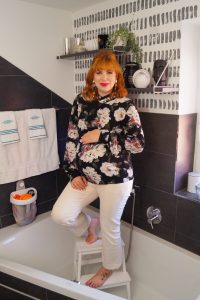
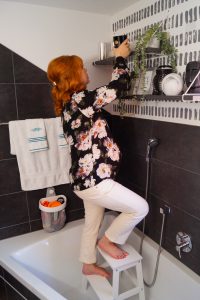
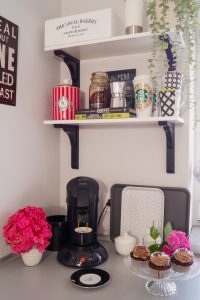
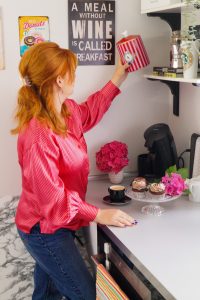
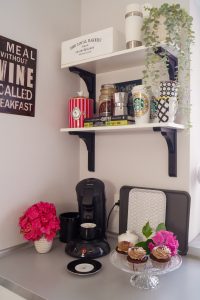
Now let´s move on to our coffee corner I have created over the years we have lived in our house and to this day I think it is the perfect spot to make my morning coffee. I can wait for the coffee maker to heat up while breathing in fresh morning air from the window besides and I can also have a look outside how the weather is doing (or sometimes what the neighbours are doing 😉 ).

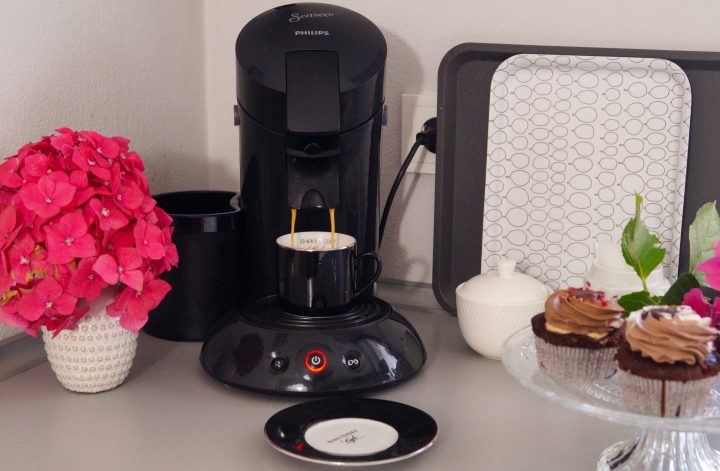
We have a very simple coffee maker and it is totally fine. There are different coffee pads you can purchase, also from huge coffee brands like Dallmayr or Jacobs. Another option you also have is a hot chocolate version which is also very yummy and calorie reduced cause it is made with hot water.

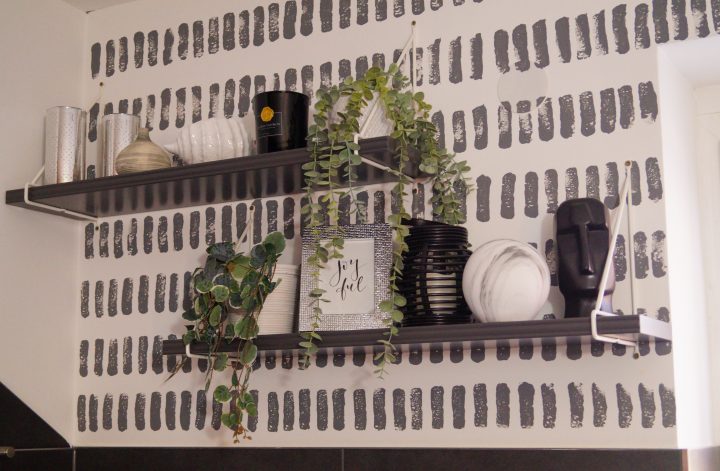
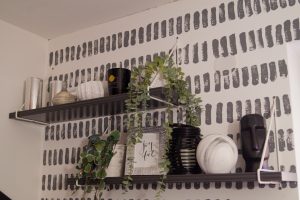
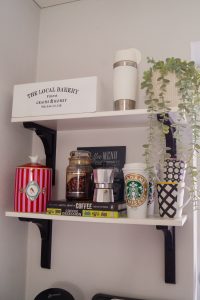
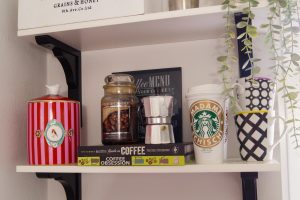
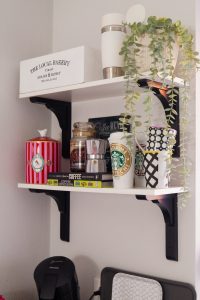
I personally love to have a clear theme so I got a coffee picture, some coffee themed books and a coffee candle that turned out to be the best smelling candle I have ever lit. The customized go-to Starbucks cups are from etsy. You can shop them here. The black and white mugs add some contrast. Now the upper shelf contains a cute fake plant and a wooden box where all of my teas are in. The white travel mug is from Emsa and my favorite brand. Never leaks and keeps my coffee hot.

The shelving system is Ikea. The shelves are called Burhult and the holder are called Ramshult.


Weiterlesen

Bathroom Update – Wall Paint and Floating Shelves…

….

(post contains affiliate links/Werbung/Markennennung/Beitrag enthält Affiliate LInks-not sponsored)

Our bathroom has always been such an eyesore to me. It is dark, boring and although it is a huge room there is no space to put things and it also has hardly storage.

I have been trying to improve it and it has turned out better, at least the area I have updated. I changed decor, addded some paint and swapped out all the colorful towels and carpets for plain white pieces to add some light hues. Personally I hate the dark tiles but we don´t want to spend the time and money to change it since it isn´t that old and nothing is broken plus the dust and dirt for weeks will not be fun.

The changes I have made in our bathroom

First of all I added this gray pattern to the white wall because I didn´t want to paint it fully and I thought this might add some interest and I think it really does (I have found it on Alexa Anglins blog page). For the paint I just went with a middle gray hue that has been mixed already (the German version is Schöner Wohnen – Vollton- & Abtönfarbe in Gray).

I made my own mold out of a simple sponge. Just cut it with a  scissor. You are totally free in terms of size and shape this way. I have tested it out on cardboard until I was satisfied with it to go on the wall. It doesn´t have nor shouldn´t look perfect. That´s what makes it look interesting otherwise I could have gone with wallpaper.

Now on to decoration – these cute floating shelves are from Ikea (the shelf is called Bergshult and available in several sized and colors) and they are the perfect addition to the space. I decided to go with all gray cause the white ones looked a little cheap. They have a trim on the front side which makes them look way more expensive.

The decor is held in the all the colors the bathroom is – black, white and hues of gray. I have found some really special pieces that reflect the character of the room and give it a little live and interest.

Decorating a bathroom really isn´t the easiest task but in my opinion it turned out pretty great.

Weiterlesen

How to set up an Easter Center Piece at your Dinning Room Table…

….

Table decor is one of my favorite things to create in terms of home decor and hosting especially for the holidays cause it can be as extra as possible. 

Easter is an amazing holiday to create a unique center piece for your dining room table you can leave and build your setting around or just enjoy between hosting. 

First of all I decide on a theme which wasn´t to hard here because it is clearly Easter and what would be better than bunnies and eggs. So that´s that.

The second thing I am always doing is set a color theme. This time I went with blue and blush cause the candles I got have the most beautiful tie-dye shade and I definitely wanted to incorporate them into my Easter center piece.

A great thing to add some interest to the whole scene is adding height. I you use different vases, candle holders and different sized pieces of decor to achive this. It is so easy and so much fun to play with the heights of all the pieces. Usually the center piece of my table decor is the highest one on the tabe, this time the blue vase. I decorated the cute branches of catkins with all of my glittery blush and blue Easter eggs and I love how it looks every year. 

White ceramic pieces are your friend in this case. The white isn´t distracting from the other colors and also keeps the table decor theme light and airy plus you can incorporate all of your white pieces into every upcoming season.

Weiterlesen

Christmas Tree Decor 21 – Color Theme Red and Green…

….

Happy Friday you guys,

(post contains affiliate links/Werbung/Markennennung/

I finally came around to shot a close up of my tree. To be honest I have done many trees the last few years but this years tree might be my absolute favorite – or am I saying this every year!!!

The color concept for our Christmas tree is as simple and classic but as chic and beautiful as possible. It is Red and Green – THE  original Christmas colors in my opinion. 

I always start by adding the plain ornaments to the tree and go from there. For this year´s concoction I went with all red and green ornaments. After that I added tartan print bows and glittery poinsettias in green and red. The poinsettias might be my favorite feature of the tree. 

Afterwards I go and get our special ornaments like the pickle or the Mickey bubble and place them all over tree. The last thing I add are the lights. They are just clip on and super easy to put on. 

I also got some fun things like the candy canes and candies so Emilia can also grab some things from the tree. We also started a new tradition this year. I am letting her pick one new ornament every year (going to write the year onto it) and then place it somewhere on the tree. This will be so much fun and when she is old enough and moving out she can start decorating her Christmas tree with all the cute ornaments she collected over the years.

She was very interested the first two or three days and always wanted to grab some ornaments but now she only wants to turn on the lights of the tree and look at it. 

Weiterlesen