….
(post contains affiliate links/Werbung/Markennennung/Beitrag enthält Affiliate LInks-not sponsored)
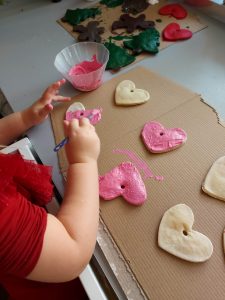
Each and every year the same question what to gift your loved ones. For some it is easy for some it is hard but overall I would suggest gifting a selfmade present is the best way to spread joy among your family and friends. A gift card or present from the store is easy to get or quick to order but a DIY gift really means that you have given it a lot of thought and time to make it yourself.
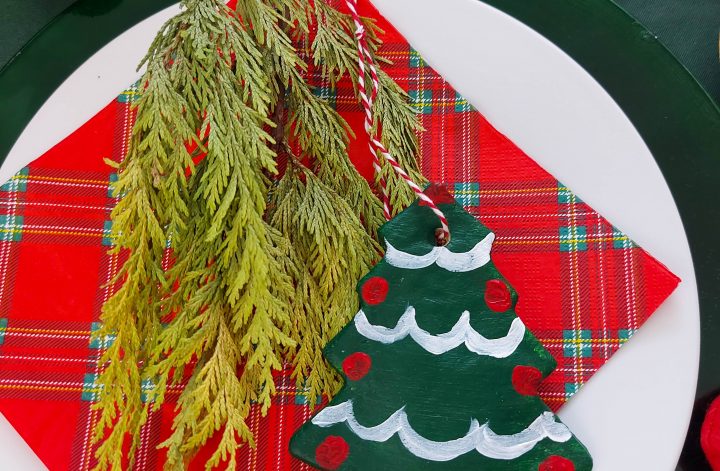
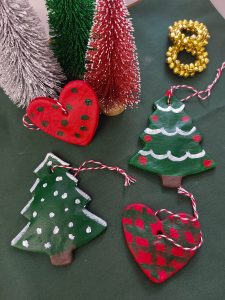
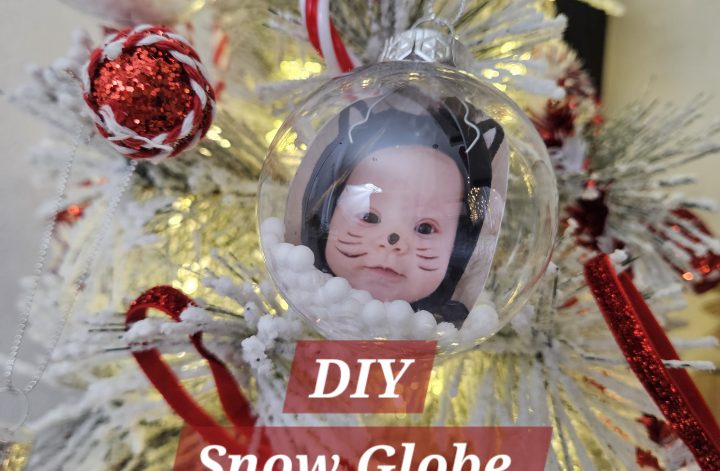
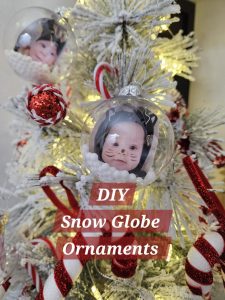
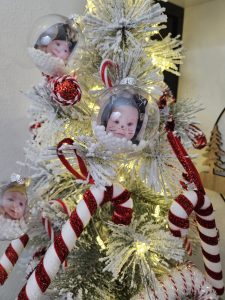
For this years DIY gift I decided to go with ornaments which contain a little „snow“ and our childrens faces. These will be the perfect gifts for all the grandma´s, aunts and uncles.
How to DIY Snow Globe Ornaments
So this is fairly easy to put together. I got the clear ornaments from amazon and they are pretty decent quality. You can open them on the top.
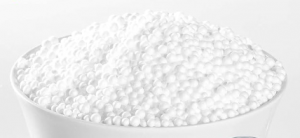
I add little styrofoam balls to make it look like the inside of a snow globe. Then I try to cut the picture big enough to put it inside and it doesn´t fall over but small enough so the ornament is going to close properly.
After that you are ready, but if you like you can swap out the string for some gift ribbon in the color of your liking.
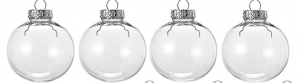
clear ornaments amazon / styrofoam balls here